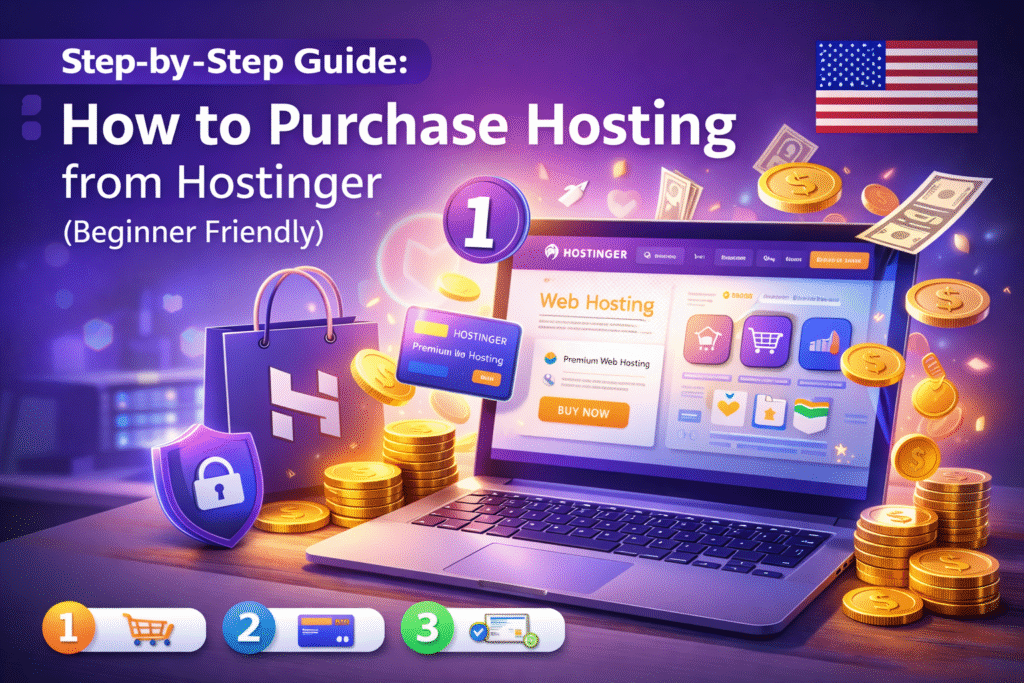
Step 1: Visit the Hostinger Website
- Open your web browser
- Go to the official Hostinger website
- Choose your preferred language and region
Step 2: Choose a Hosting Plan
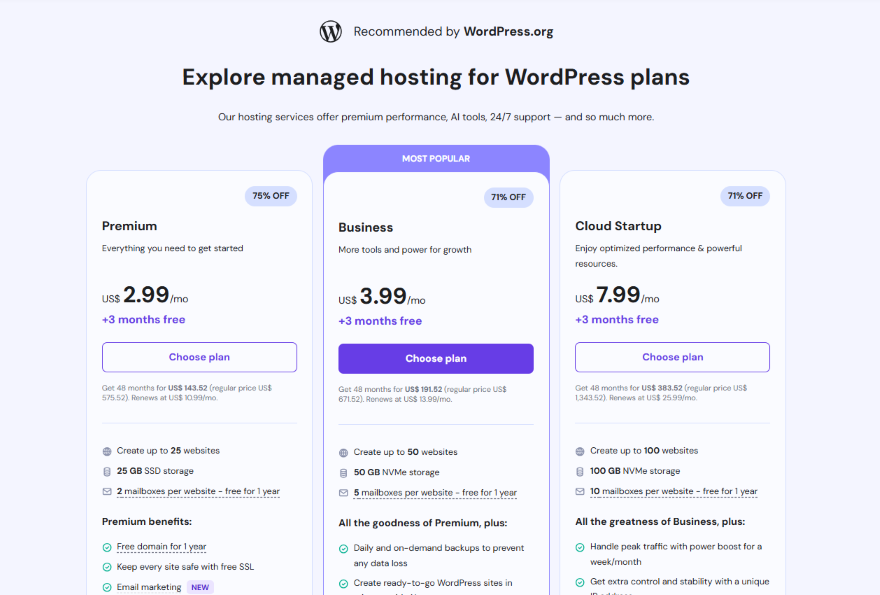
- Click on Web Hosting from the menu
- Review available plans
- For beginners, Shared Hosting is usually recommended
- Compare features like storage, websites allowed, and email accounts
Step 3: Select the Hosting Duration
- Choose the hosting period (monthly, yearly, or multi-year)
- Longer plans usually offer lower monthly costs
- Select the option that fits your budget and goals
Step 4: Register or Log In to Your Account
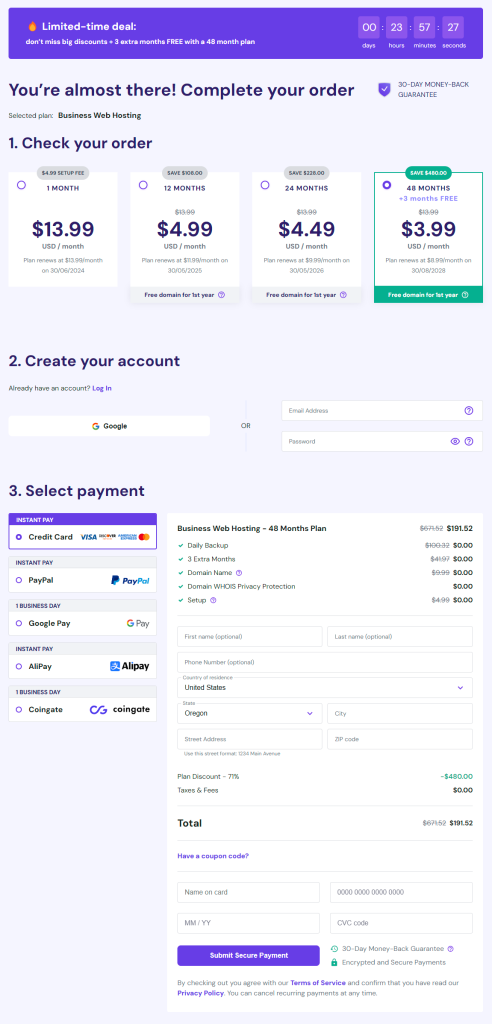
- Create a new account using email
- Or log in if you already have one
- Verify your email address if required
Step 5: Choose a Domain Name
- Select Free Domain if included in your plan
- Or use an existing domain
- You can also register a new domain during checkout
Step 6: Enter Account and Billing Details
- Fill in basic personal information
- Double-check spelling and email address
- Review your order summary carefully
Step 7: Apply Coupon or Discount (If Available)
- Enter a coupon code if you have one
- Check if the total price updates correctly
- Discounts may vary from time to time
Step 8: Choose a Payment Method
- Select a payment option such as:
- Credit card
- Debit card
- UPI or other local options (region dependent)
- Ensure secure payment connection
Step 9: Complete the Payment
- Confirm the payment
- Wait for the confirmation screen
- You will receive a confirmation email
Step 10: Access the Hostinger Control Panel (hPanel)
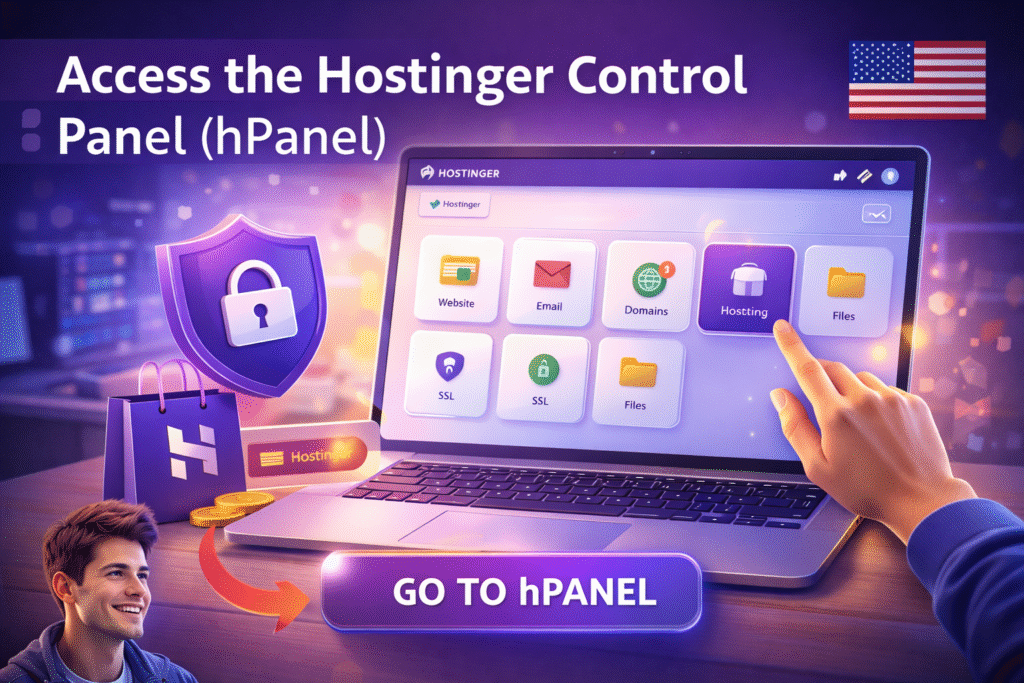
- Log in to your Hostinger account
- Open the hPanel dashboard
- Start setting up your website or install WordPress
Helpful Tips for Beginners
- Start with shared hosting
- Use one-click WordPress installation
- Keep login details safe
- Contact live chat support if needed
Final Note
Purchasing hosting from Hostinger is beginner friendly and straightforward. Always review plan details and pricing before confirming. Results depend on how you use the hosting and manage your website.